For as long as I’ve had this printer, I’ve struggled to get a decent first layer on a consistent basis and I’ve never truly been able to adjust the Z-offset to my satisfaction. This has been a source of frustration time after time both with Klipper and the stock firmware.
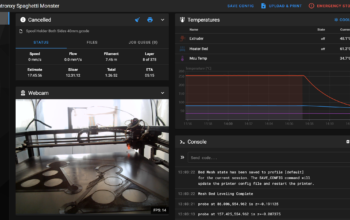
One of the difficulties with the design of this printer is that it has 2 motors along with 2 optical Z end stops as well as a probe (in my case a BL Touch) that is used for meshing. Typically I would start the printer, run PROBE_CALIBRATE with the paper test and then try to produce a mesh using BED_MESH_CALIBRATE. I’d then start a print and almost every time the print head would either crash into the bed be too high. I’d perhaps get a good layer down once in 5 or so prints. This would waste tremendous amounts of time and cause endless frustration. There had to be a better way!
Doing without the optical end stops
I posted a question about my dilemma on the Klipper Discourse groups. Someone there suggested something that I considered going somewhat backwards. The suggestion was to use the Probe as by Z end stop and do away with the optical end stops all together. I didn’t initially like this suggestion as the printer uses the optical end stops to ensure the Z axis is somewhat level. Surely using the Z probe only would cause the Z axis to be unlevel?
Well I didn’t need to worry about this. After pointing this out on the forum, the told me about an additional Klipper option named Z-Tilt. Z-Tilt will use the probe to take measurements on the bed and adjust the Z axis (Z-Tilt) automatically. This effectively means that my Z end stops are now redundant.
To make this work, I had to make some mods to my Printer.cfg file.
Firstly, I needed to tell Klipper to use the probe as the Z end stop instead of the optical sensors.
endstop_pin: probe:z_virtual_endstopThis exact line needed to be updated for both Z and Z1 steppers. The next thing was to add a Z_Tilt section.
[z_tilt]
z_positions:
  -94,300
  694,300
points:
  0,300
  525,300
retries: 3
retry_tolerance: 0.4
horizontal_move_z: 20
There’s quite a bit going on here, so I’ll break it down 1 section at a time.
Z_positions tells Klipper where my Z Steppers are located. Essentially this is the pivot points. In my case the steppers are well beyond the boundaries of the bed. I measured them to be 94mm on either side.
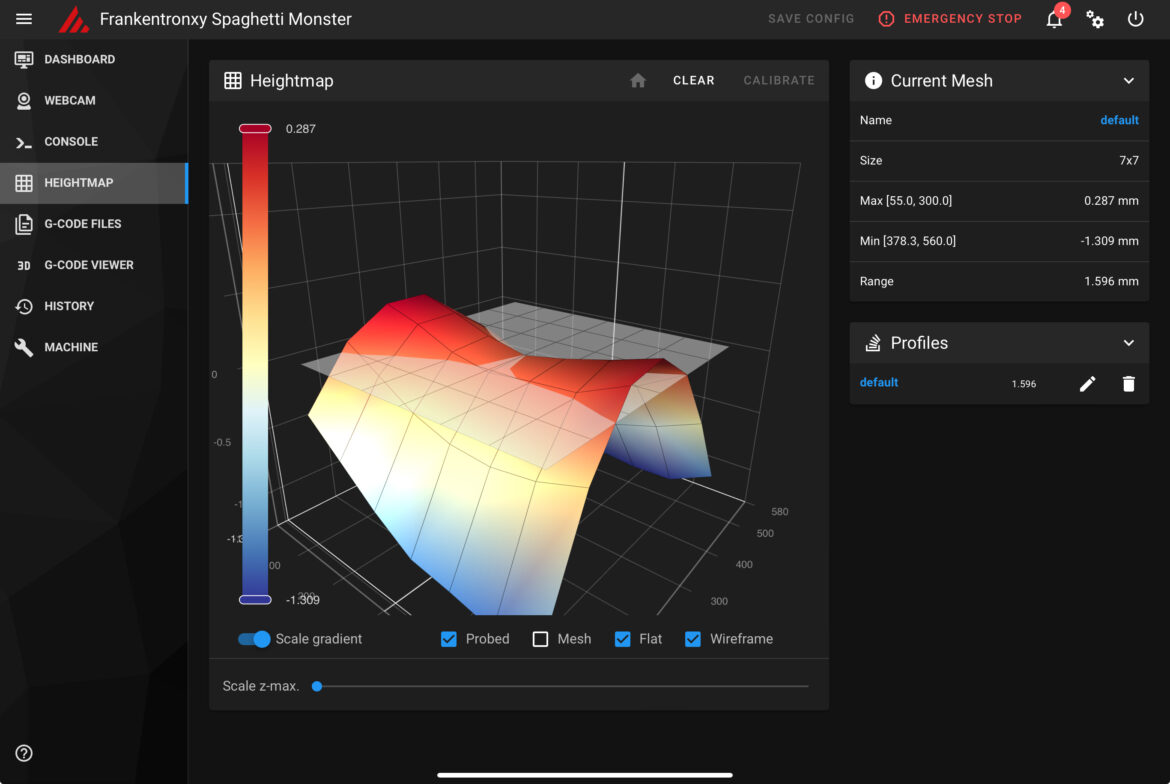
Points tells Klipper where to probe the bed for Z_tilt. In this case I’m just using the edges of the bed accounting for the offset of the probe. I initially had 3 probe points, but this was not reliable. My bed (or more likely my gantry) has a huge 1.5mm variance between the highest peak and lowest point. This meant it was impossible to have all points with the retry_tolerance of 0.4mm.
Retries tells Klipper how many times to try and level the Z axis before giving up.
Retry_tolerance is how many times Klipper will attempt to level the Z axis. If it’s not within range after the number of retries it will give up and throw an error.
Horizontal_Move_Z how far to move the bed down before bringing it back up for a measurement. 20mm as I have is overkill.
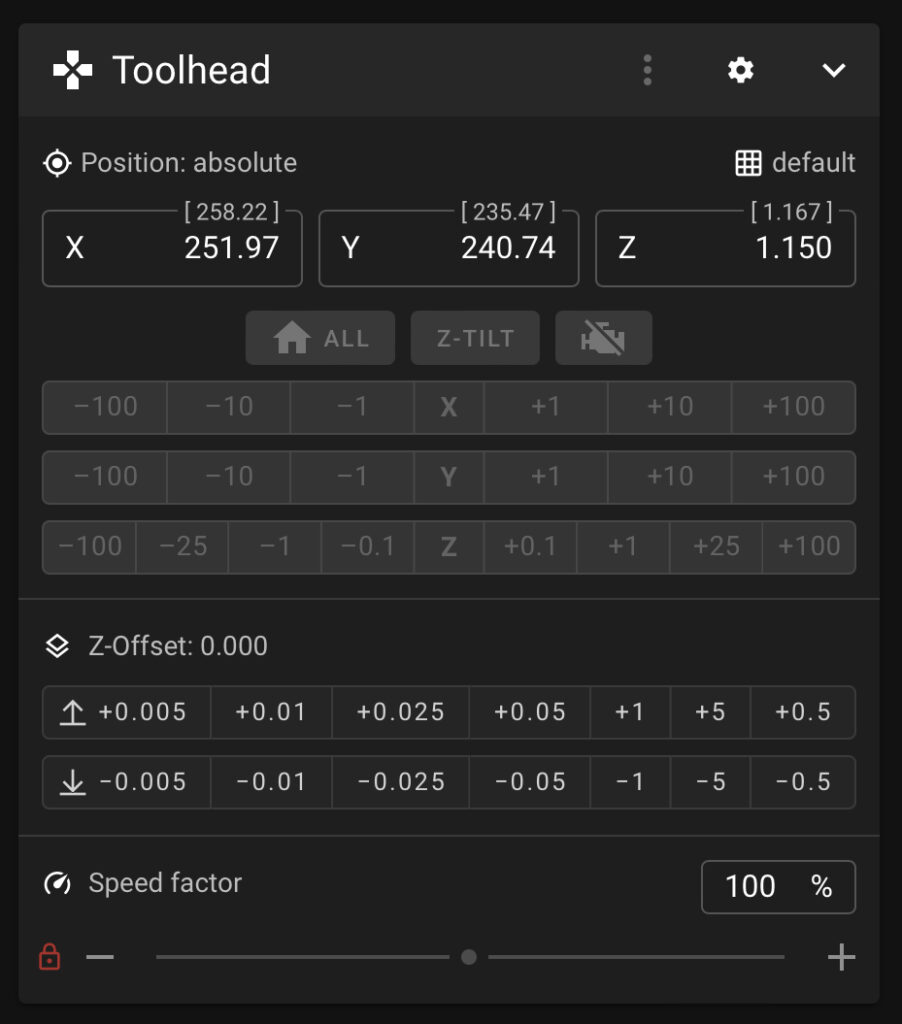
After the config I restarted my printer and found the was a new button in the Mainsail UI next to the home button – z_tilt
Z_Tilt didn’t work
This was completely my fault. Whenever the printer tried to adjust for z_tilt, it just seemed to make things worse. I turns out that I had my Z steppers swapped out in the config file. Swapping the pin outs corrected this.
The new way of working
With all of that config out of the way, I now have a new way of working.
- Run
PROBE_CALIBRATEand perform the paper test only when I make changes to the tool head such as changing the hot end tip out. - Home all axes before any print
- Run
Z_TILT to level the Z axis - Run BED_MESH_CLEAR to ensure there is no bed mesh preloaded from the config file
- Run BED_MESH_CALIBRATE to create a new bed mesh
- Start print
If I follow steps 2-6 each time before I start a print I’m pretty much guaranteed a perfect first layer.
Potential Future Upgrades
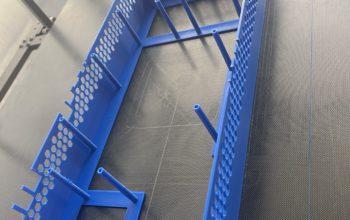
I’m now quite certain that my X axis rail has a 1.5mm dip in the middle. This is quite frustrating, but the more I think about it, I don’t think it’s a huge issue. Creating a bed mesh means the printer will raise or lower the bed to account for this and since my actual bed is quite flat I can still get good quality prints. I may however swap it out at a later date.