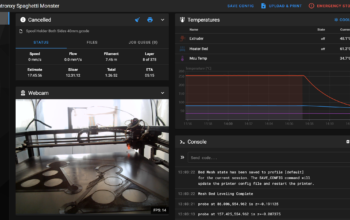
I’ve left the the Spaghetti Monster to gather dust for a few months now. I’ve been having trouble getting prints to stick to the bed and in particular I’ve been having trouble getting the Z-Offset to reliably work. The Z-Offset issues of course have nothing to do with adding a Voron Stealthburner but I made the decision to get to the bottom of that issue with the upgrade.
Why the Stealthburner?
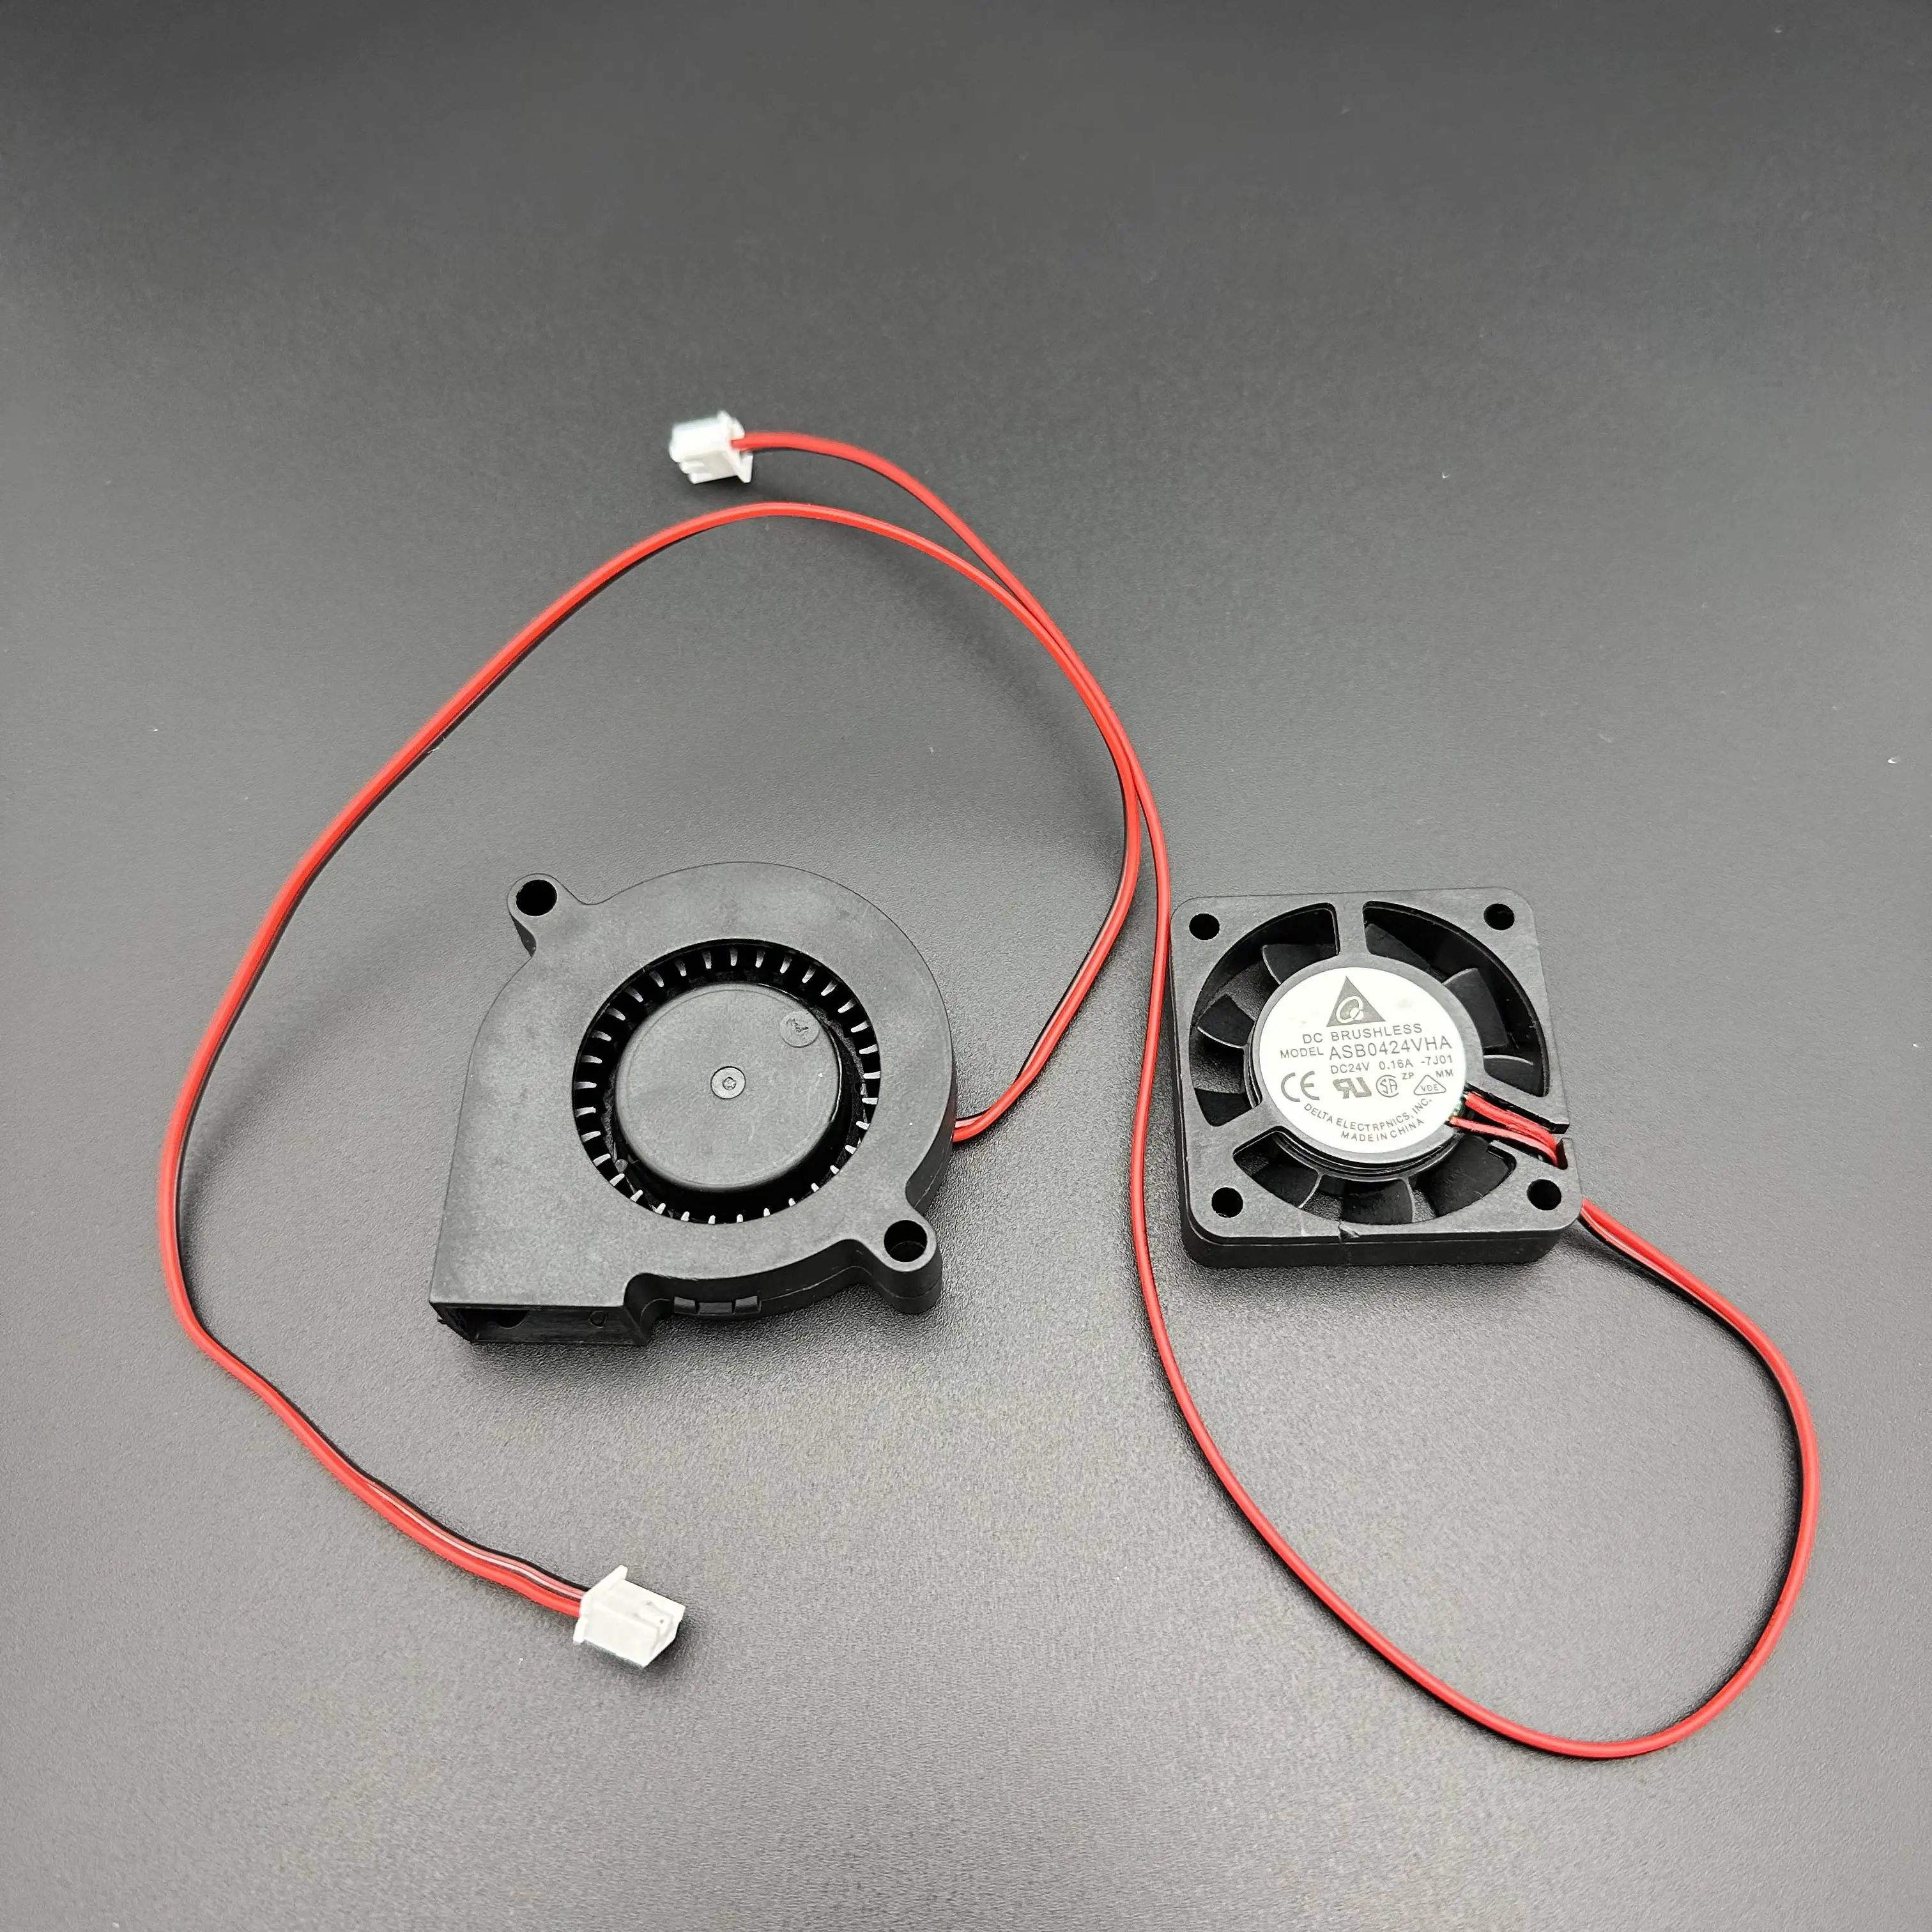
With all of the upgrades I’ve been doing, I thought it was time I looked at upgrading the hot end. I had previously replaced the standard hot end with a Phaetus Dragon UHF to allow me to theoretically print at higher speeds, but this came with new issues. Firstly the Dragon UHF is physically much longer than the standard hot end which meant I needed to reset all of my Z-Offset calibrations. Secondly, with the tip now being lower the standard mount and part cooling fan setup didn’t work as it should. Also, the plastic inserts that aimed the fan at the piece died a tragic death many months ago and I never did get around to replacing them.
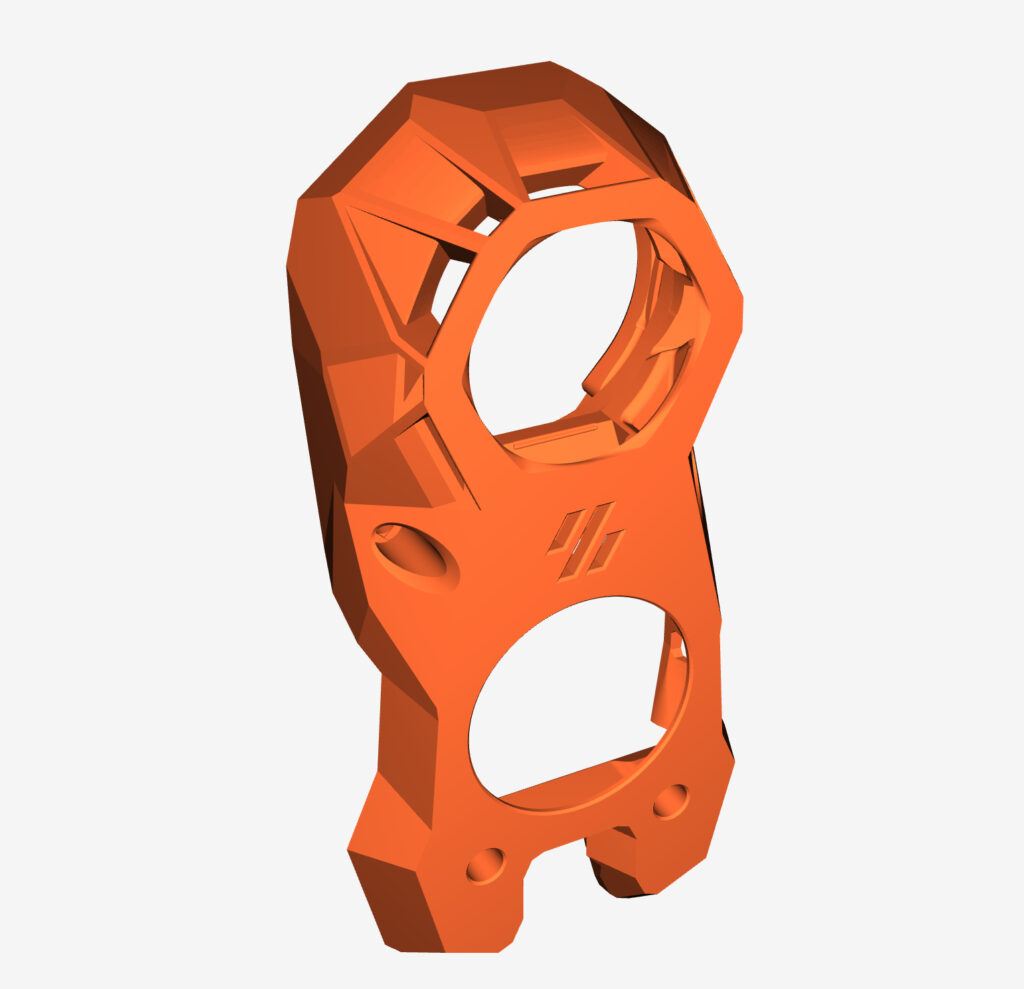
The Stealthburner replaces pretty much the entire print head with the extruder, motor and hot end all in one assembly. It also takes a lot of the bulk out of the back of the print head and significantly reduces the carriage weight. This should in theory help with faster prints. I was hoping there would be another advantage – the print head would often crash into the Y-axis motor if the print head was at the maximum Y location.
Building the Voron Stealthburner
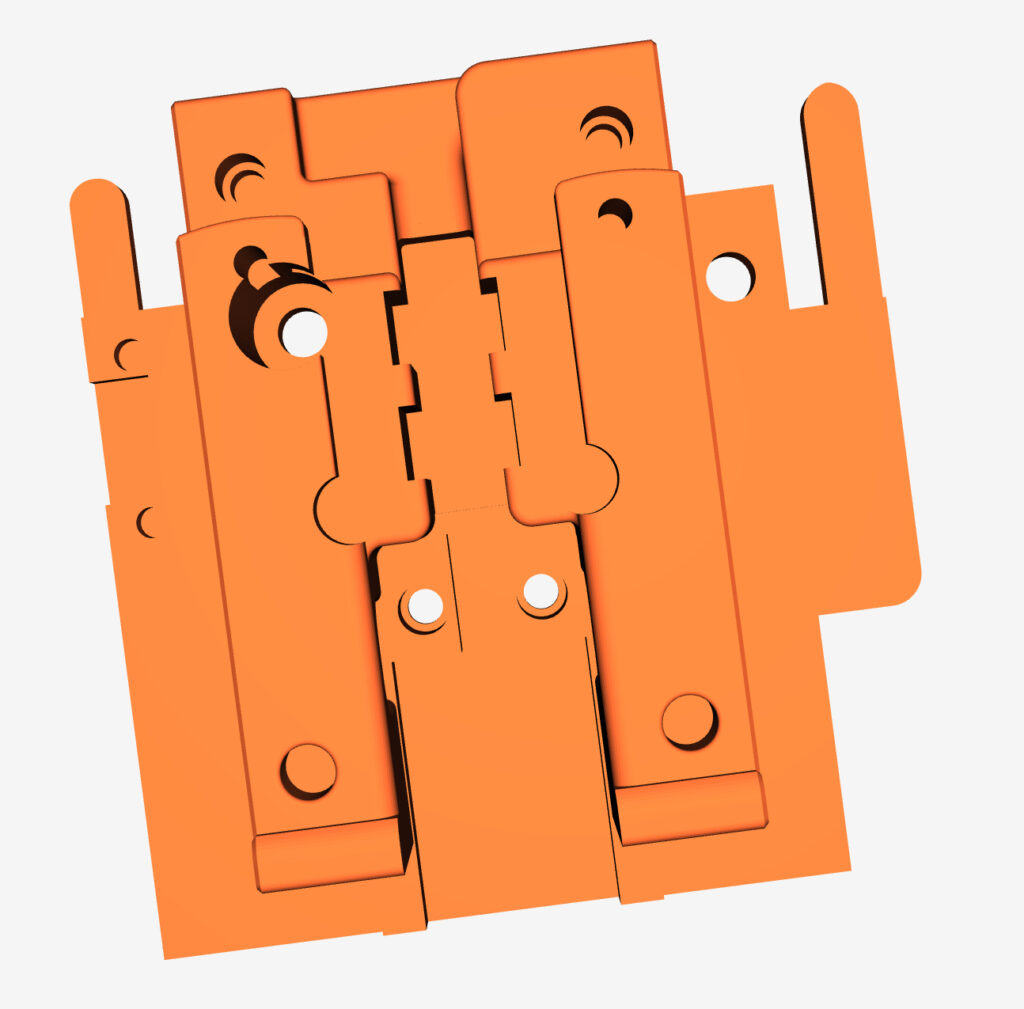
I ordered the parts from AliExpress which came complete with everything except for the hot end which I already have.
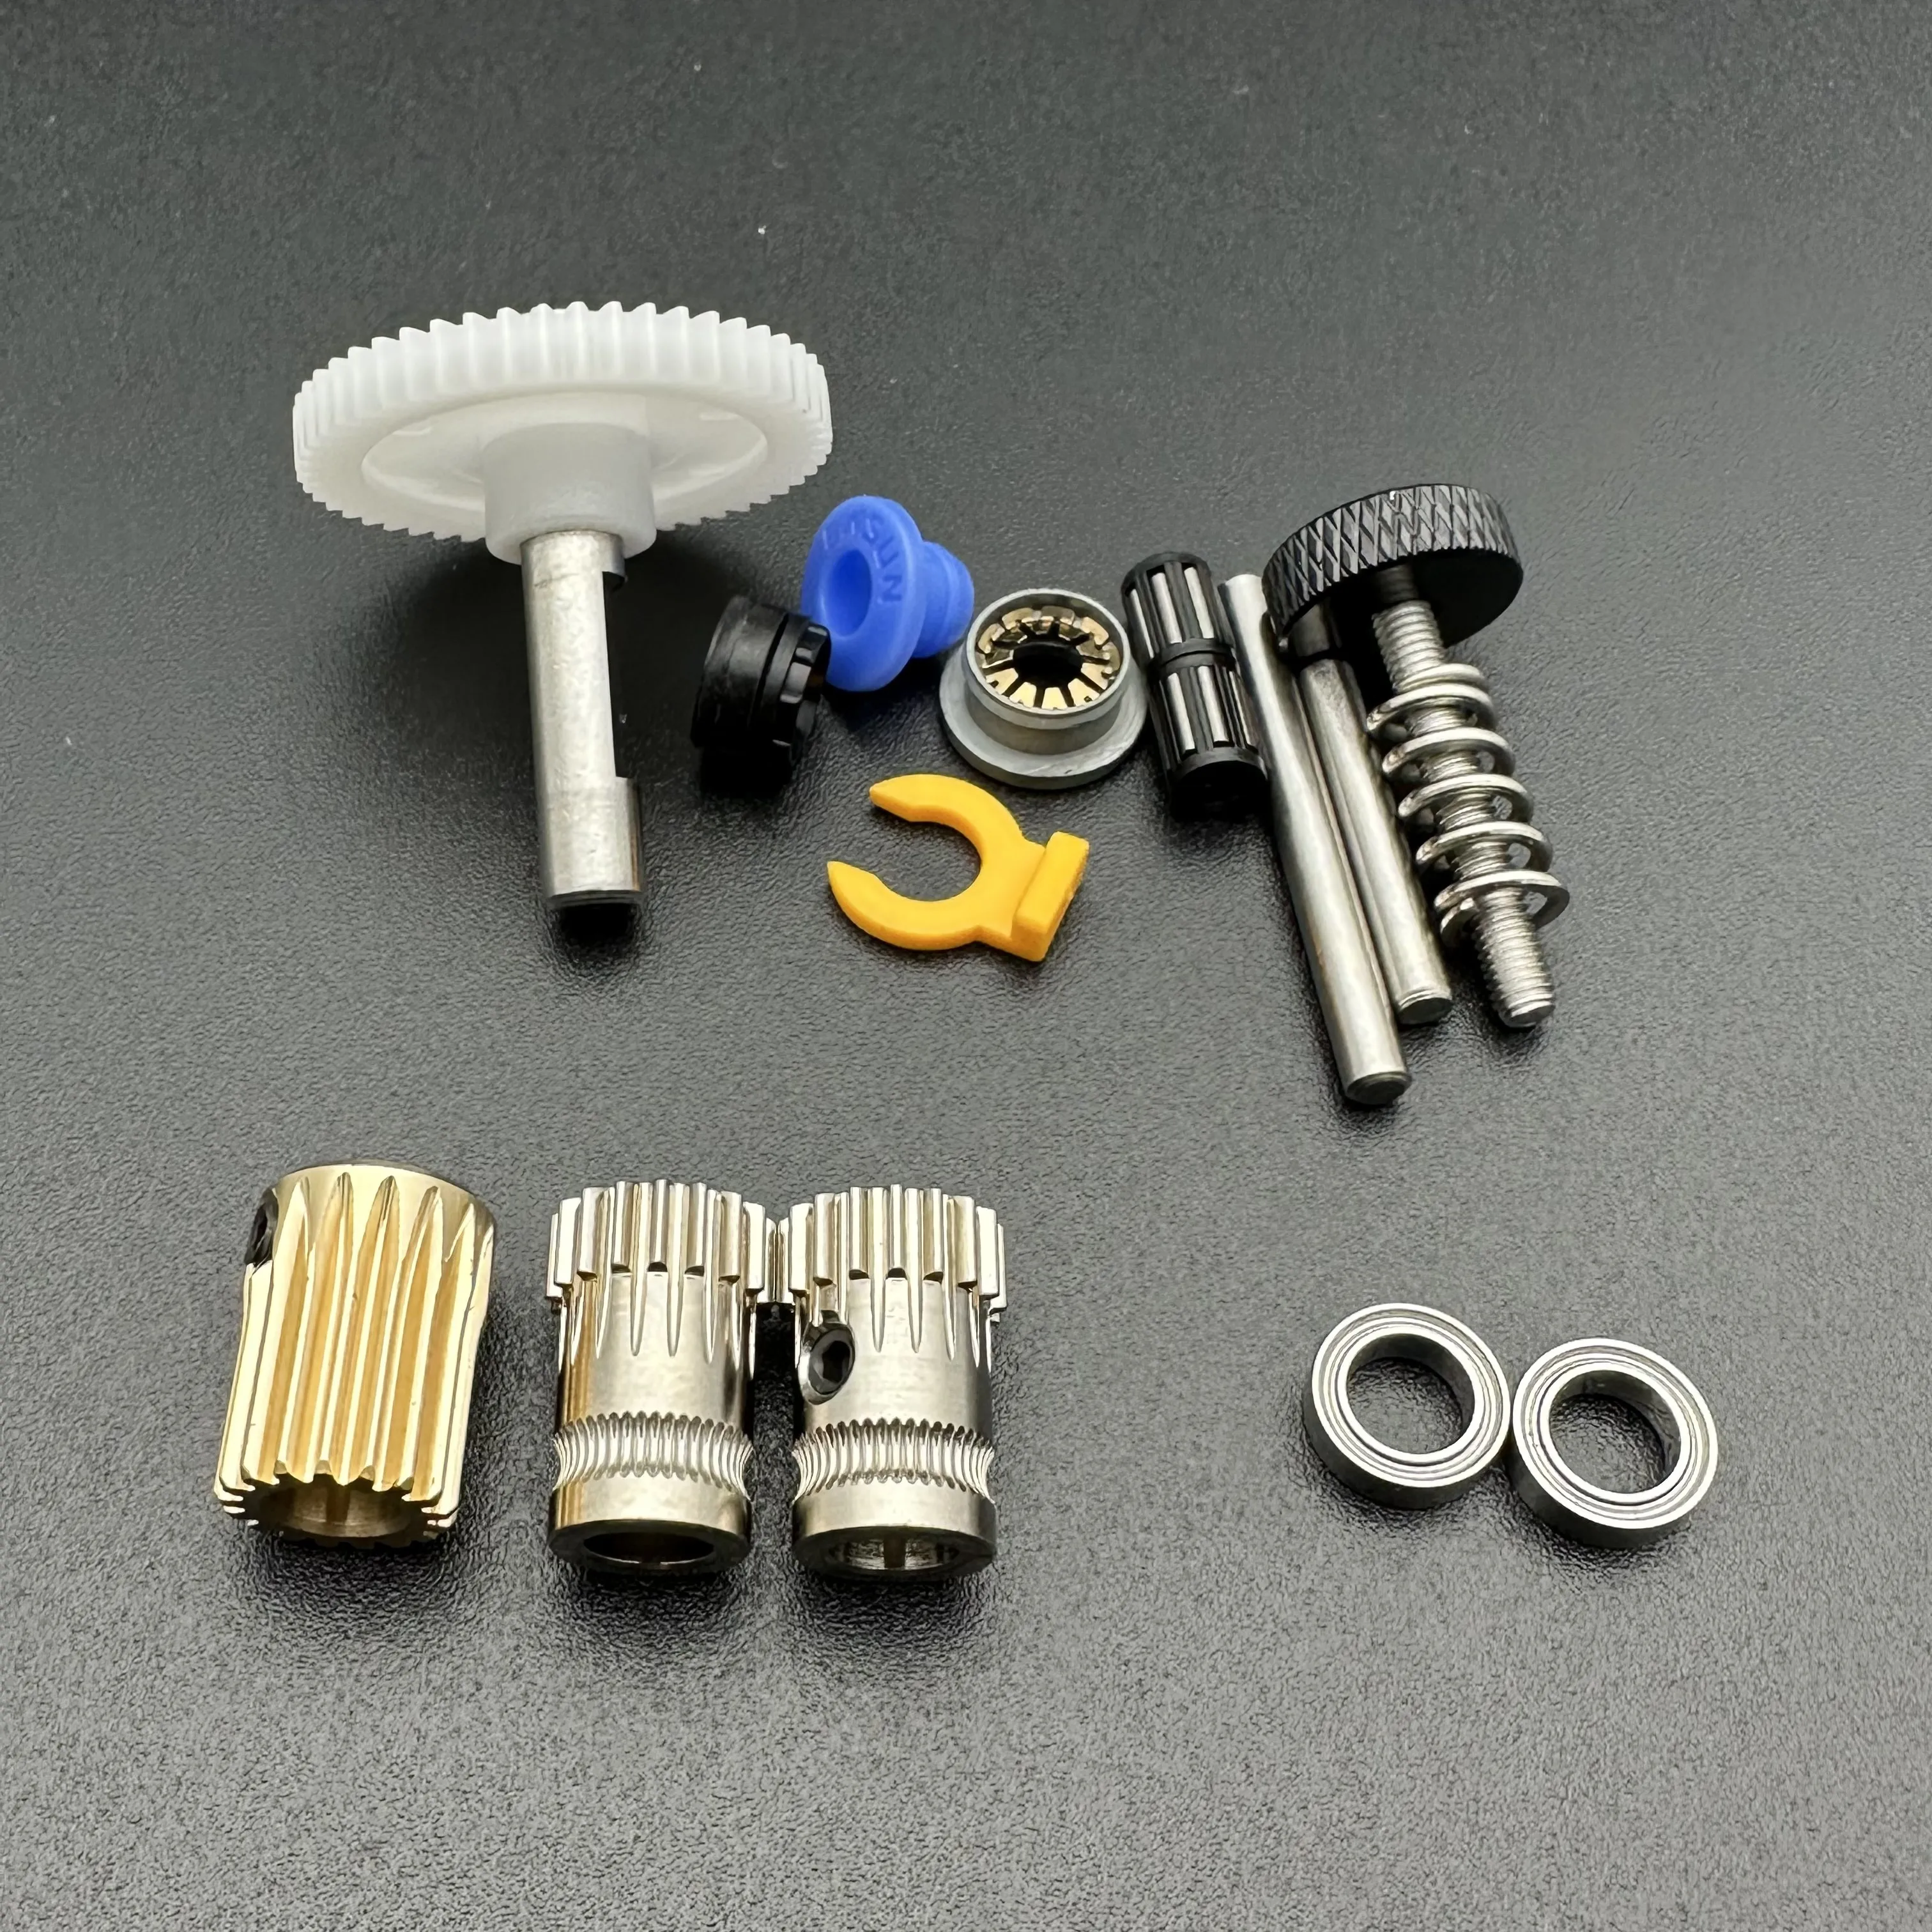
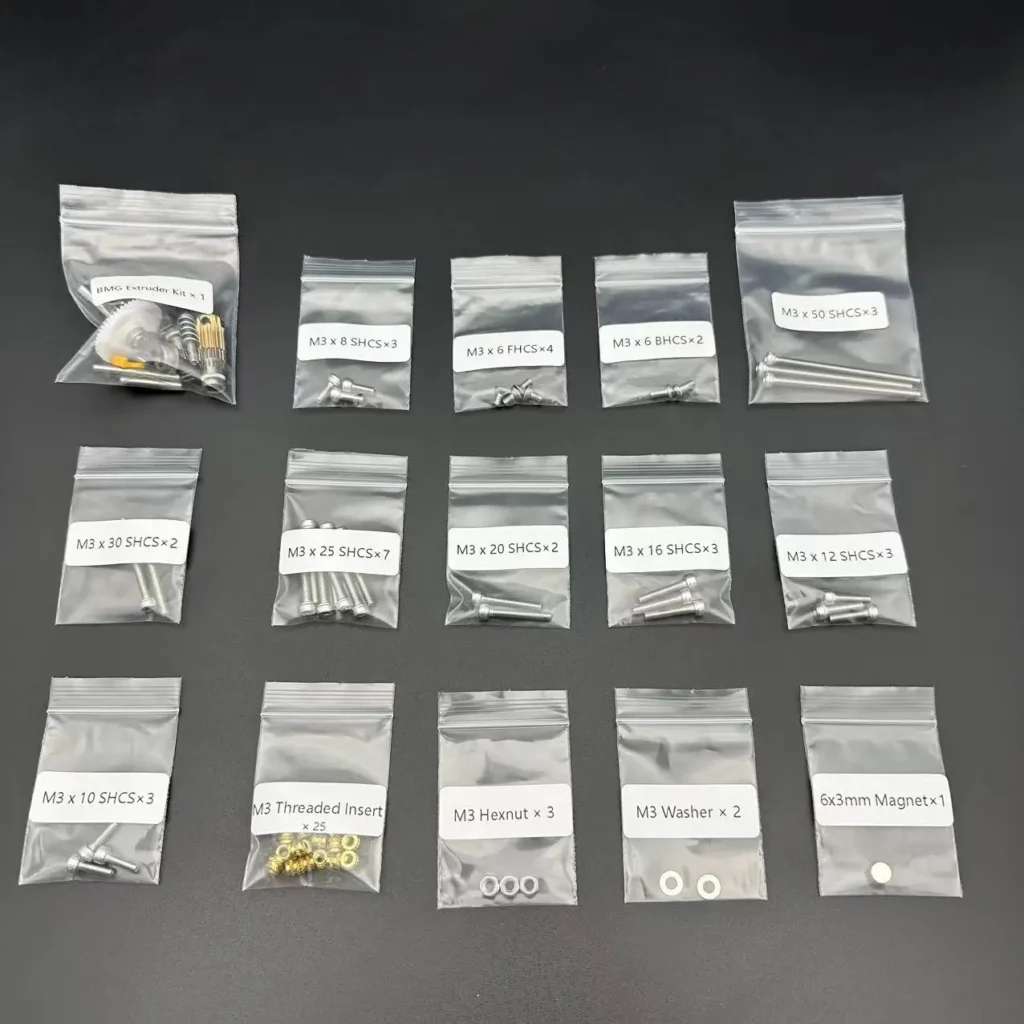
I followed the instructions in the Voron Stealthburner GitHub page and was able to put it together in a couple of hours. The manual was quite straight forward to follow, so I wont go into detail about it here.
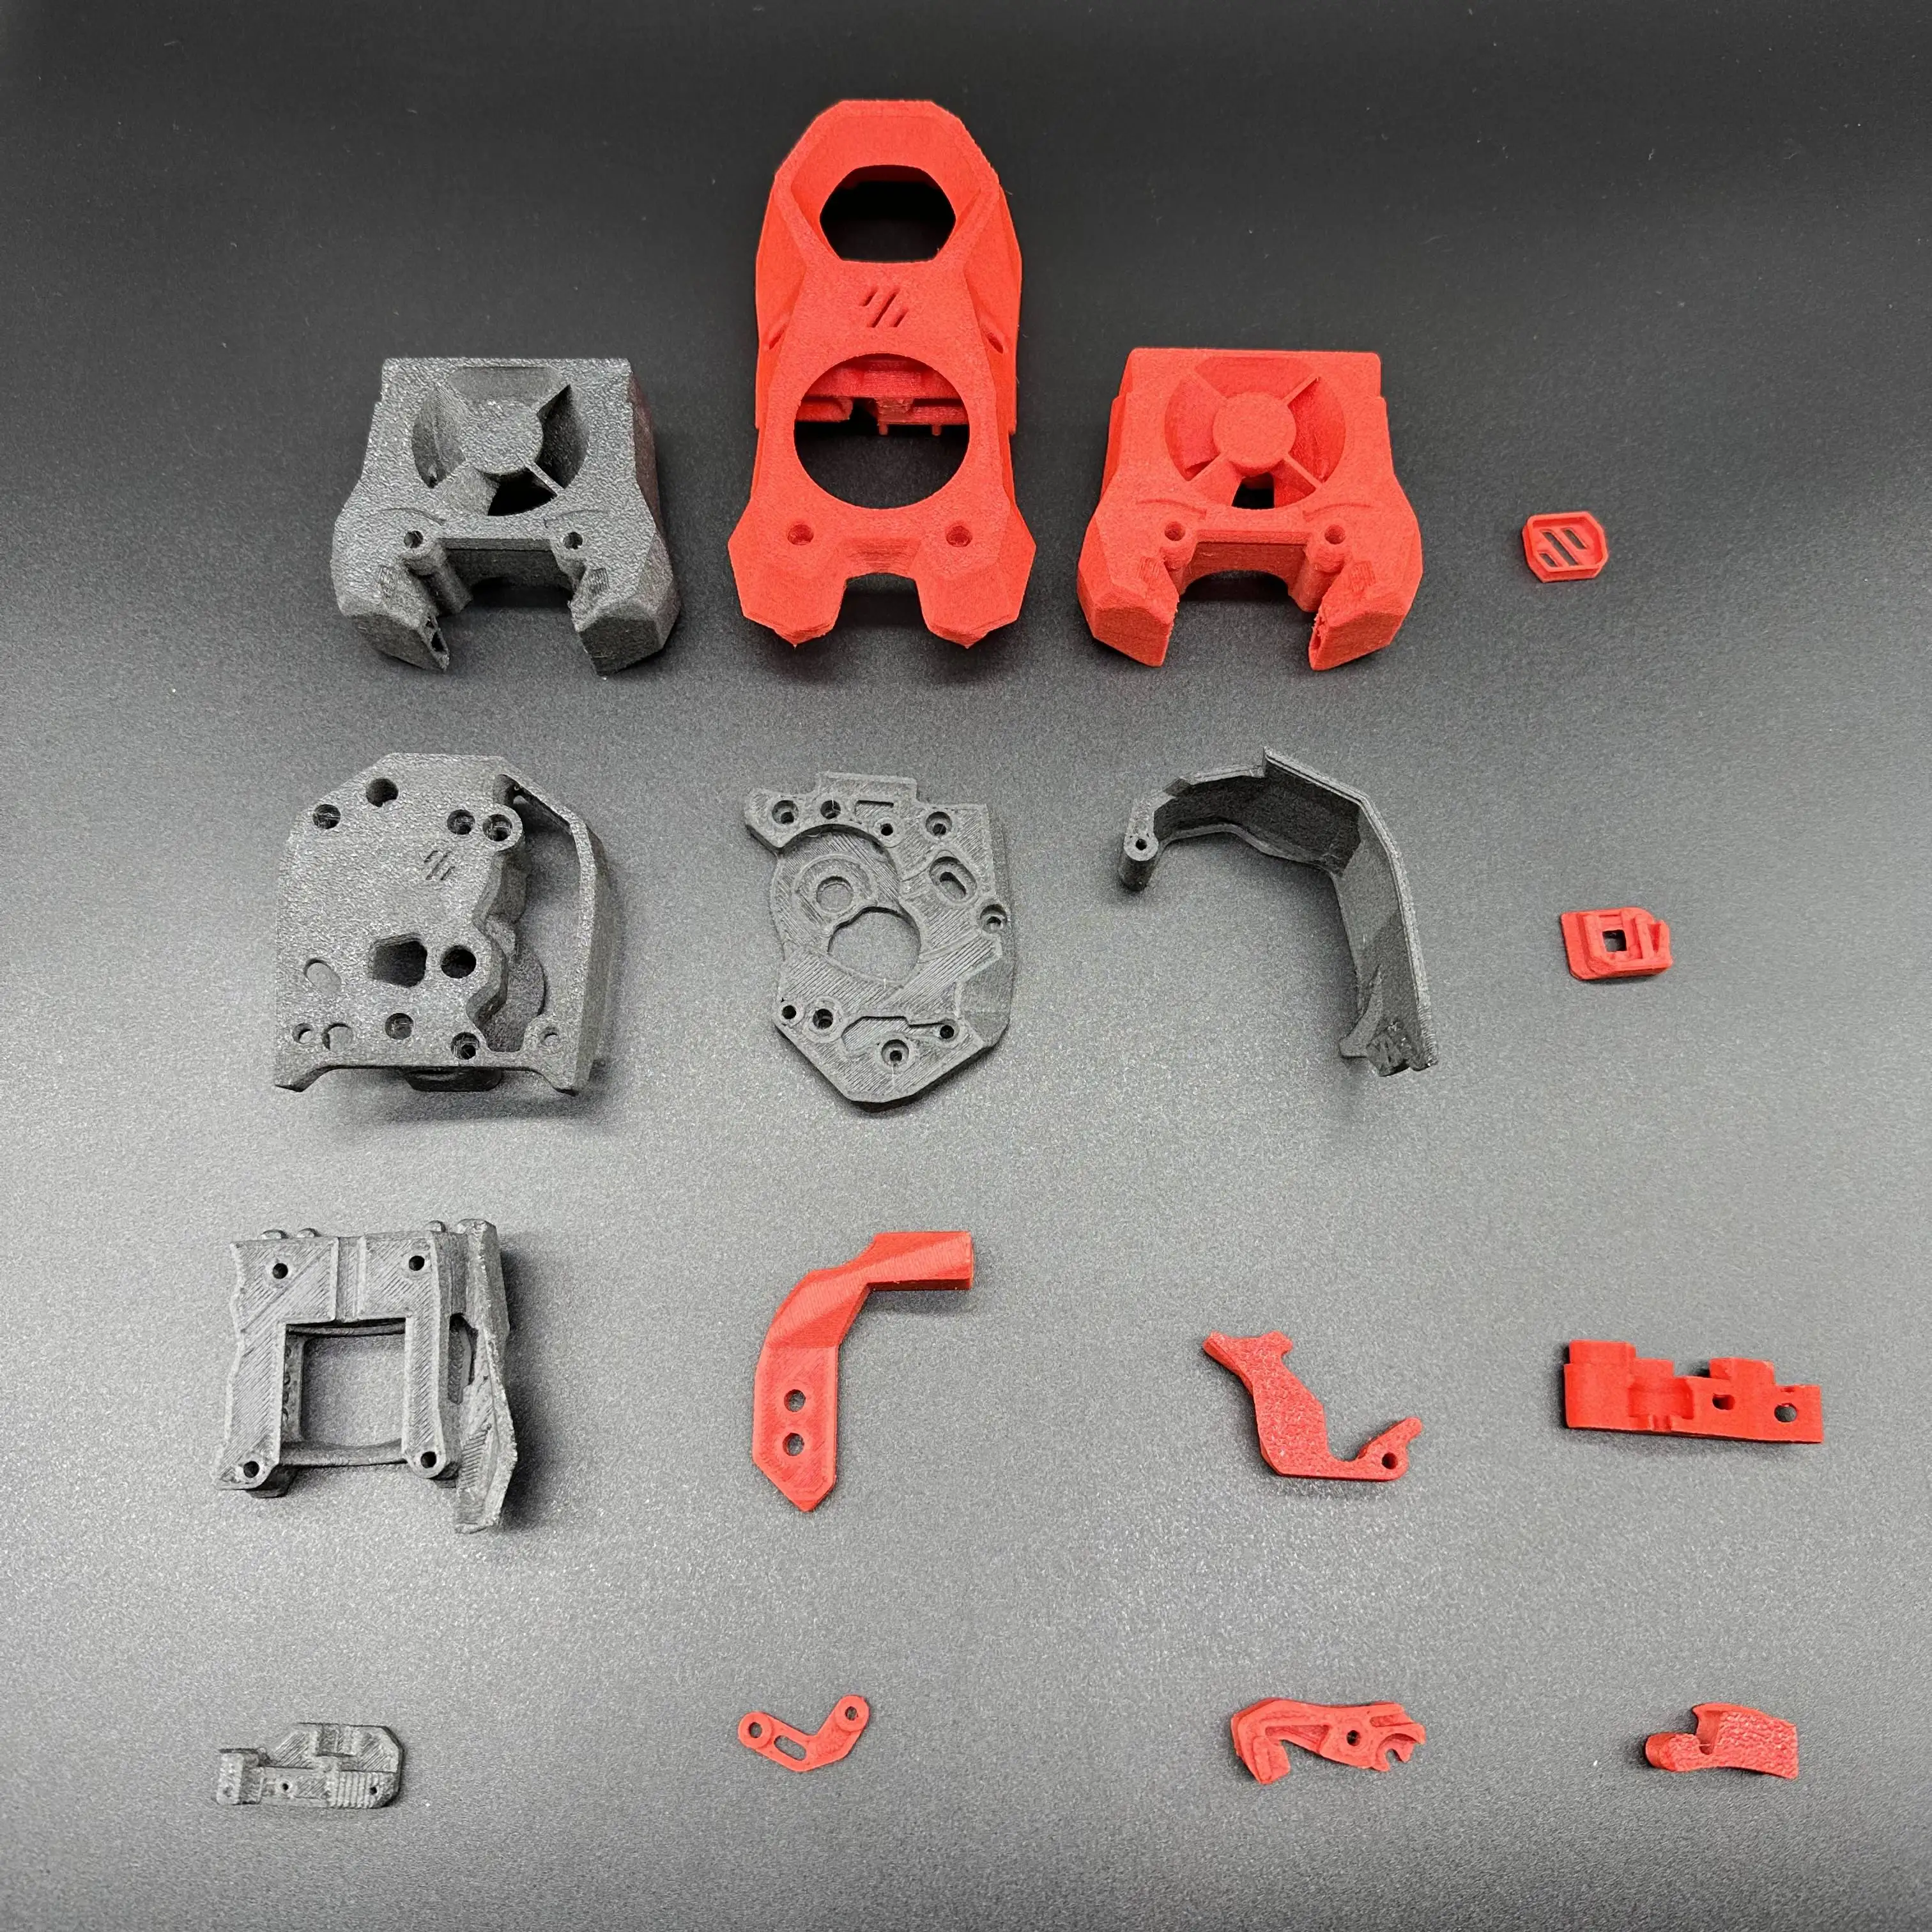
Once I had it all together, I realised that I had ordered a Stealthburner for a regular Dragon and not the Dragon UHF. The UHF is not one of the officially supported hot ends for the Stealthburner, but fortunately I was able to find an STL file for the parts I need online. I placed an order from a local company and had the parts a couple of days later. The main difference being that the UHF version is 8.6mm longer and therefore needed the part cooling fan to extend a further 8.6mm downwards.
https://www.printables.com/model/681814-knomi-dragon-uhf-
You might notice this has a little addition being the Knomi prefix. This is a totally unnecessary must-have, that I couldn’t resist. More on this later.
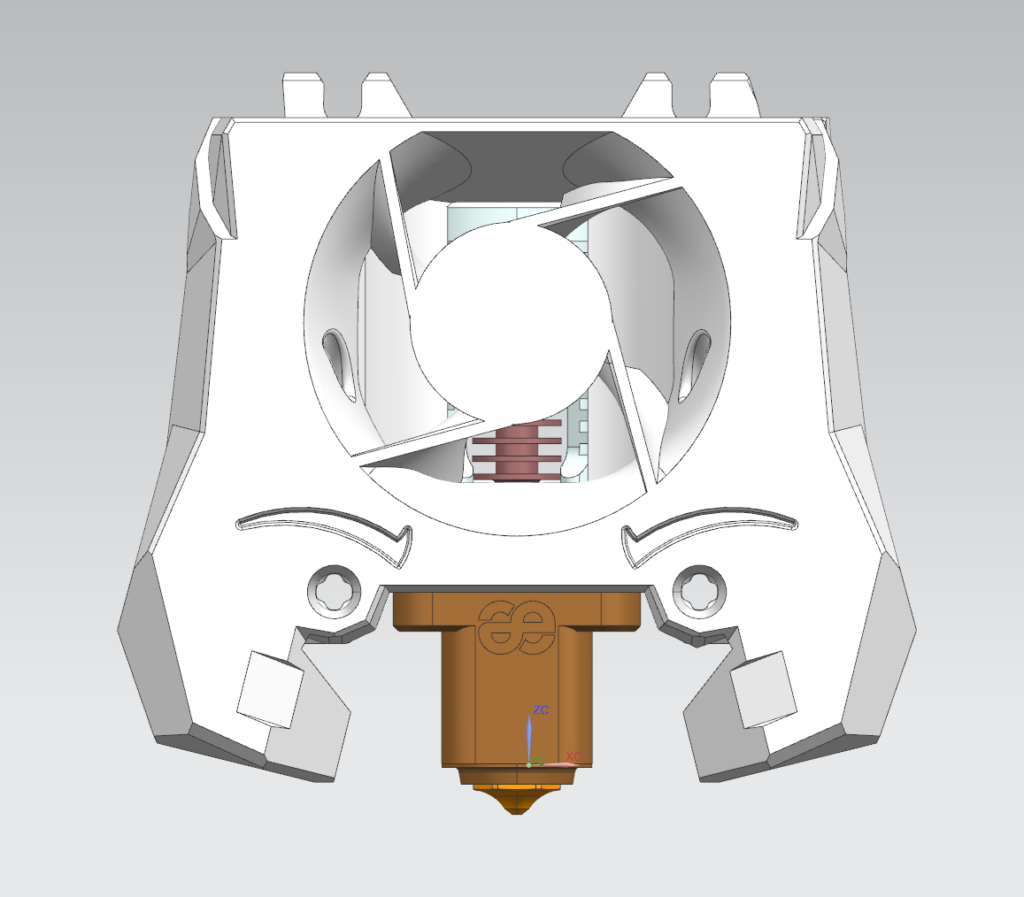
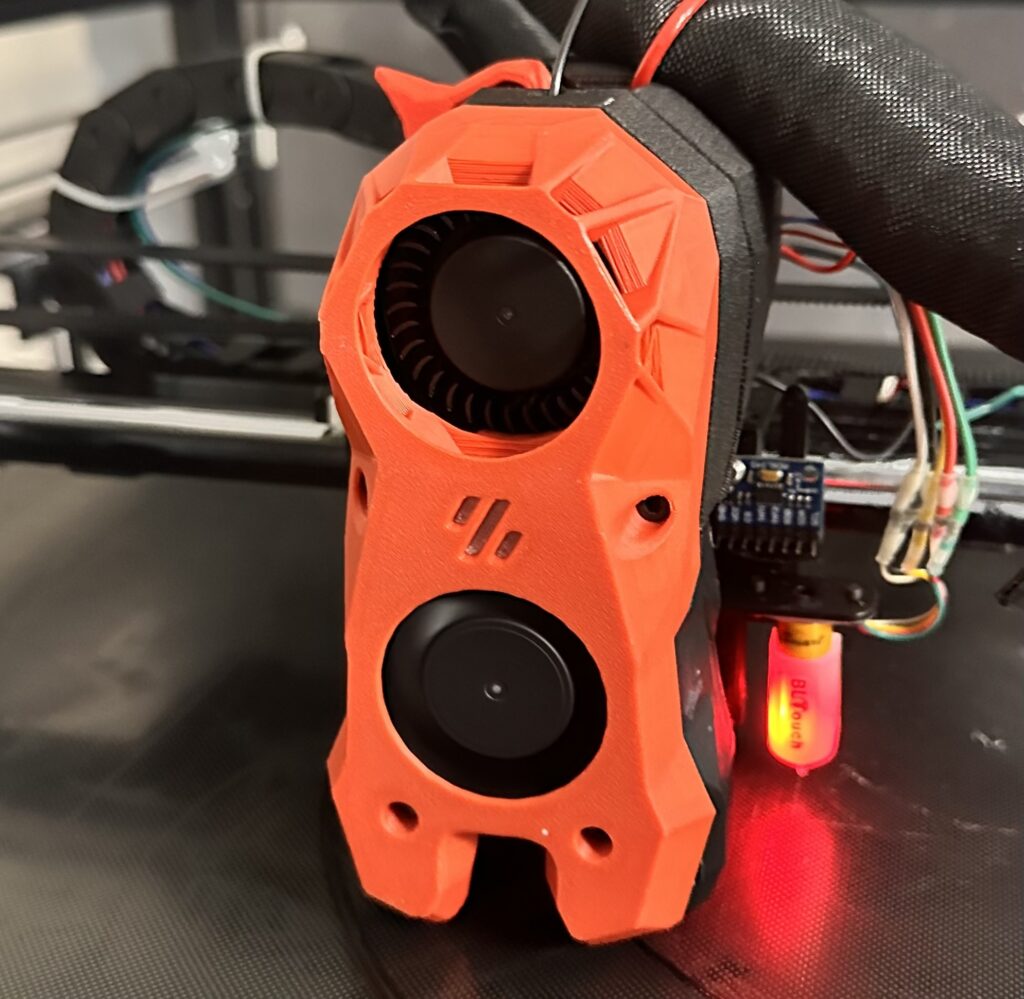
This is just the front of the Stealthburner. I didn’t immediately realise that I also need to reprint the hotend housing, so I did a search for that and found this from the VoronMods site:
https://mods.vorondesign.com/details/WHujVxn8HnZet0yB8vHxJg
This is the back half of the housing that I was missing.
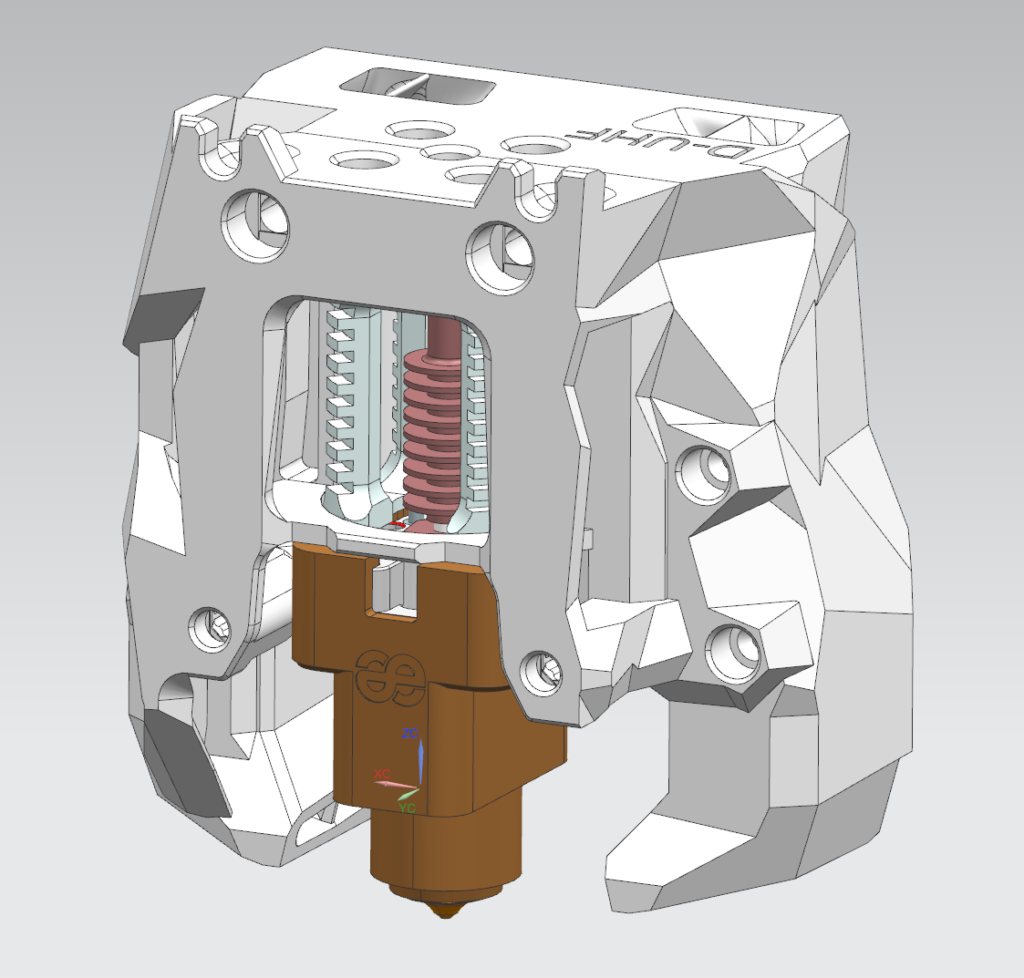
Now we’re getting somewhere. But I also needed a way to mount this all to my existing X-axis carriage. I found this on printable and I was in business:
https://www.printables.com/model/417456-tronxy-x5sa-pro-stealthburner-carriage-no-addition
All 3 of these were delivered to me together in on package. I assembled it all and tried to mount it to my printer. The only difficulty was the Tronxy carriage addition didn’t quite work with my printer. The X5SA Pro has the X-Axis rail set perpendicular to the X5SA-600. So I had to hack into this with my soldering iron and some heat set screws to line it up with the carriage on my printer.
Broken Wiring
I now had to wire everything up again. Since I was using new fans, I needed to mate that to my existing wiring and this was also a great time to figure out why my part cooling fans weren’t working. I used my multimeter to check the continuity of the wiring and quickly found that one of the wires leading to my part cooling fans was broken. I decided to just pull that whole set of wiring out and redo it. Upon inspection I found there was a strand of wiring that I had used that was of a much poorer quality to the rest of my wiring, so replacing it was a no brainer. This fixed the issue with my fans.
More Electrical Work
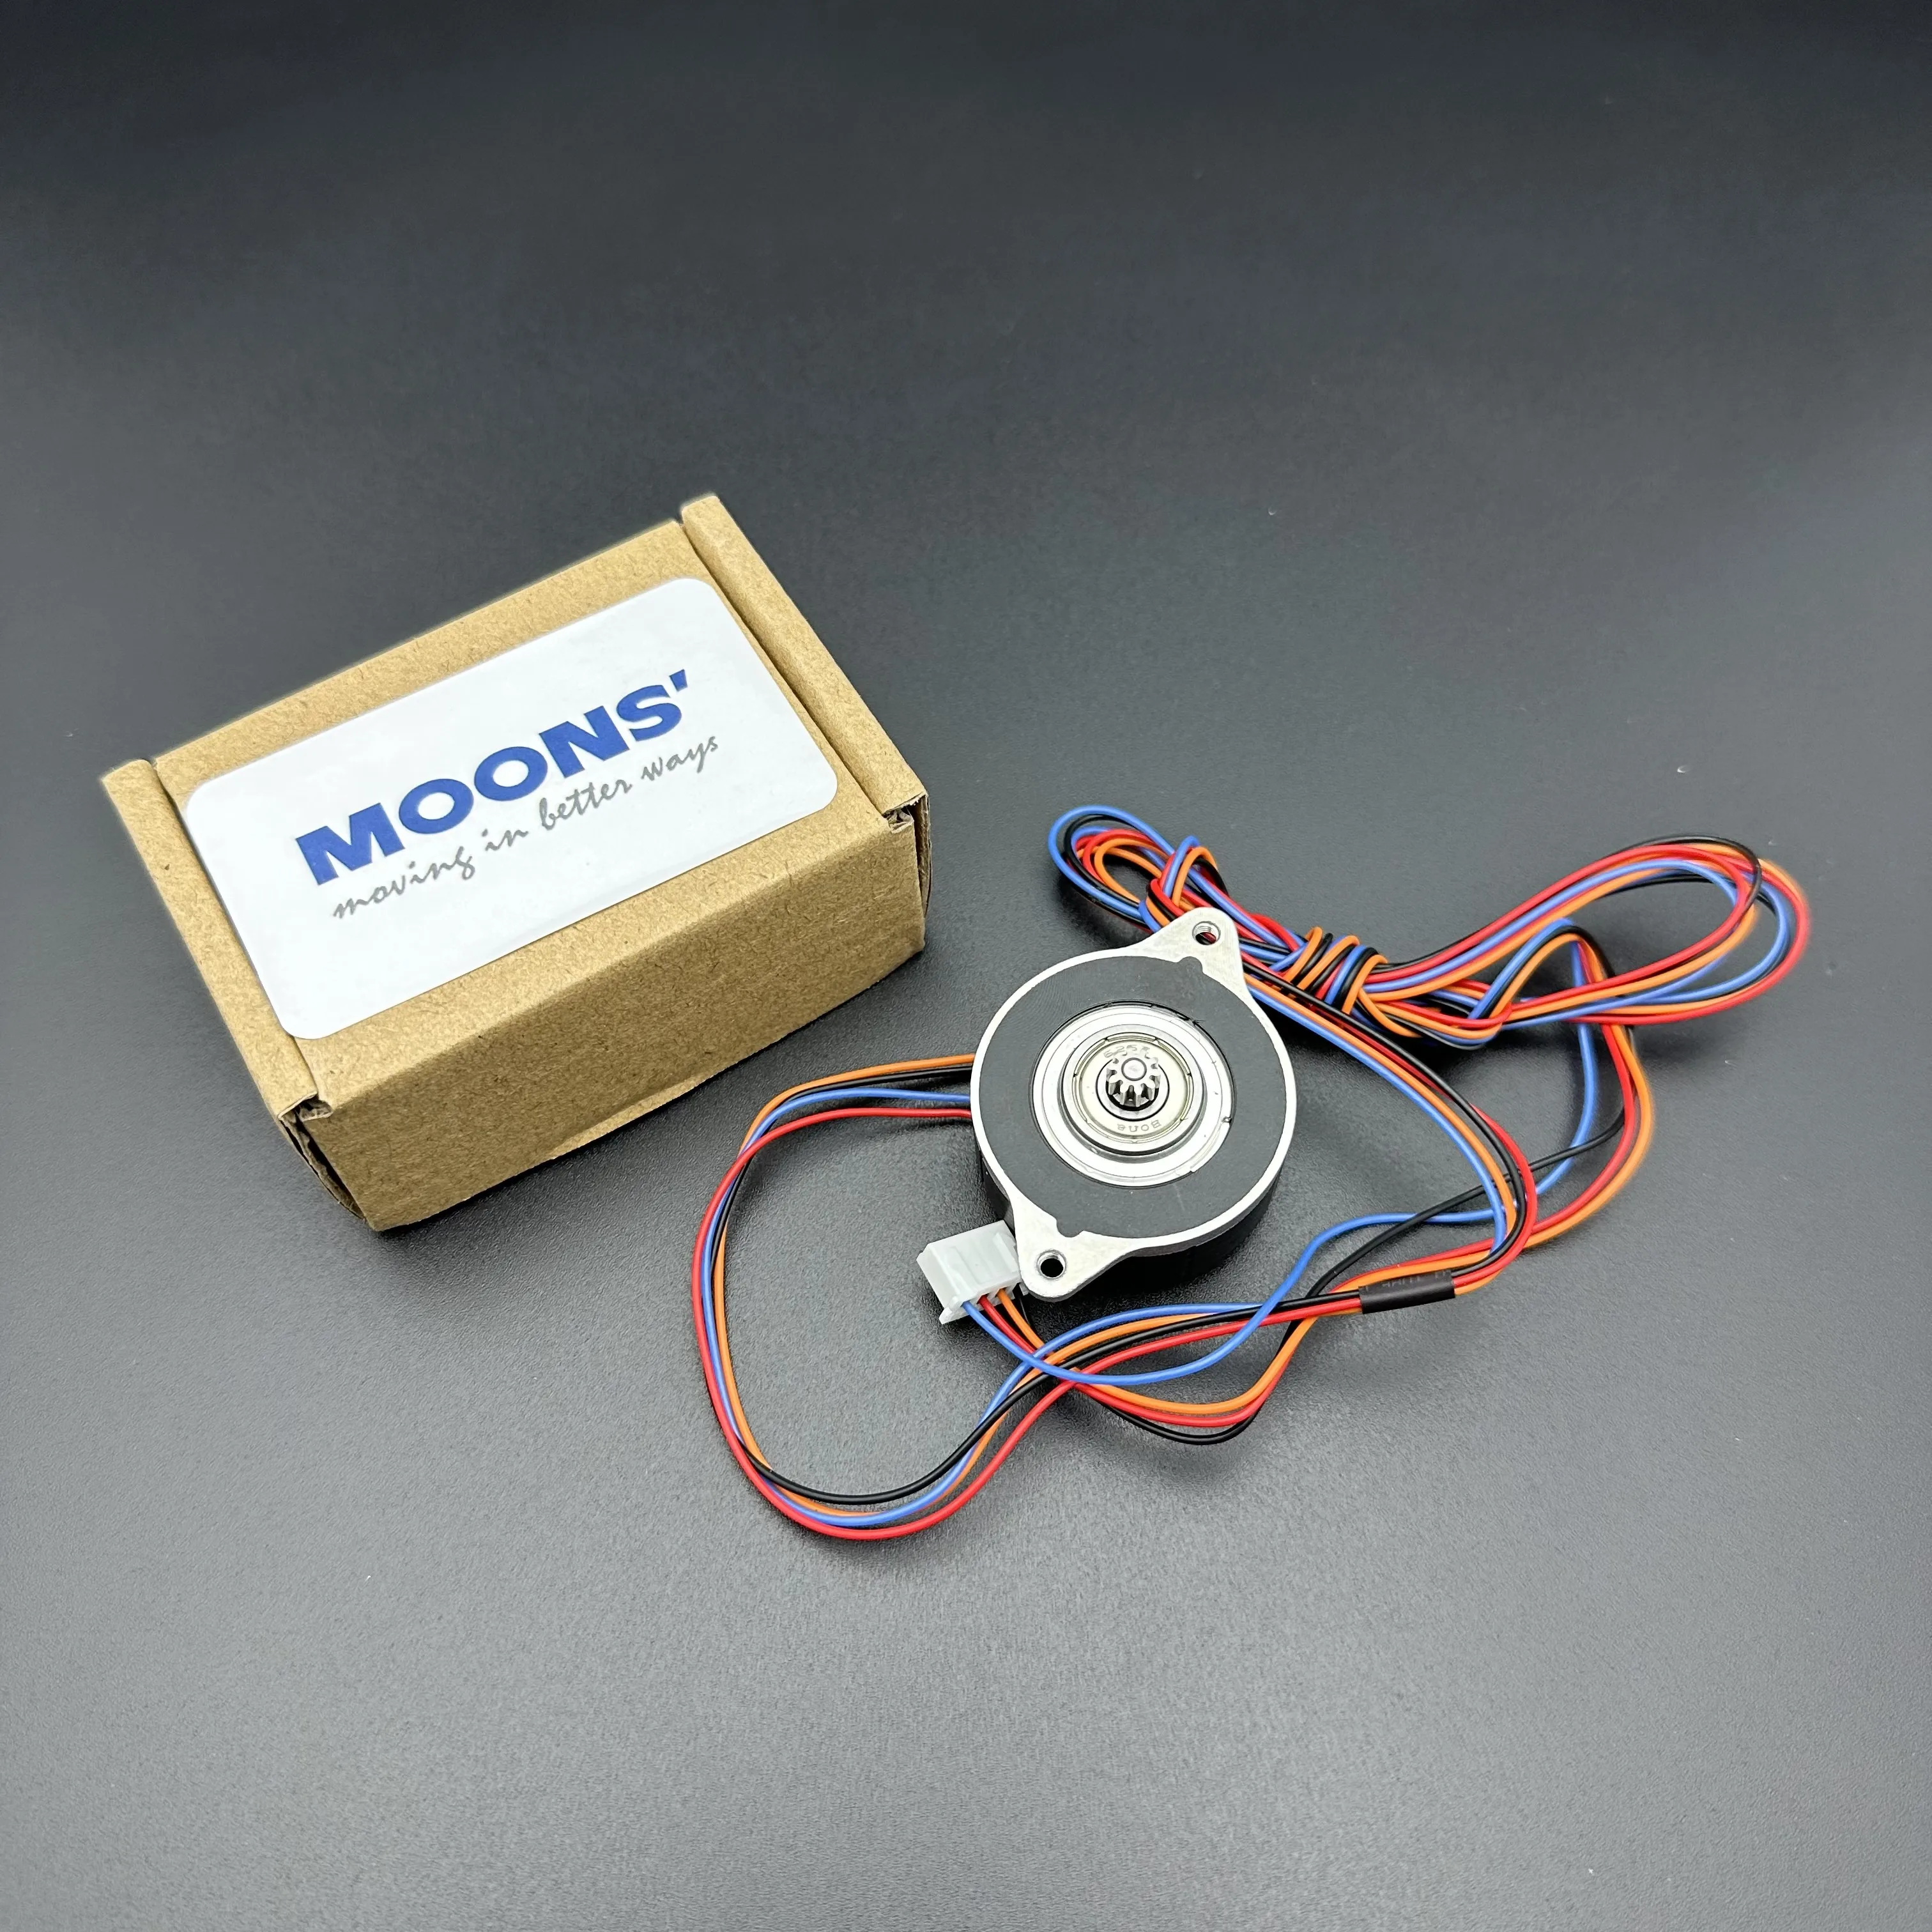
Part of the Stealthburner setup is to use an Omron Inductive probe to measure the bed height. This never came with the kit, so I ordered one online. While I was waiting for it to come, I made the decision to continue using the BL Touch probe until I receive the Omron probe. This turned out to be a good decision as I later found out that the inductive probe was not going to work.
The Omron probe that is recommended for use with the Stealthburner is the TL-Q5MC2. This probe has a maximum measuring distance of 5mm – from steel. With Aluminium, it’s around 1/2 of that which brings us to 2-3mm. The glass bed that came with the Tronxy is around 3mm, meaning it wouldn’t get a measurement until it crashed into the bed. I will investigate if there is a 10mm or even 15mm version to keep the proximity sensor as far away from the bed as possible, but for now, the BL Touch is working great.
I found a way to shoehorn the BL Touch next to the Stealthburner using a bracket that came with the Tronxy.
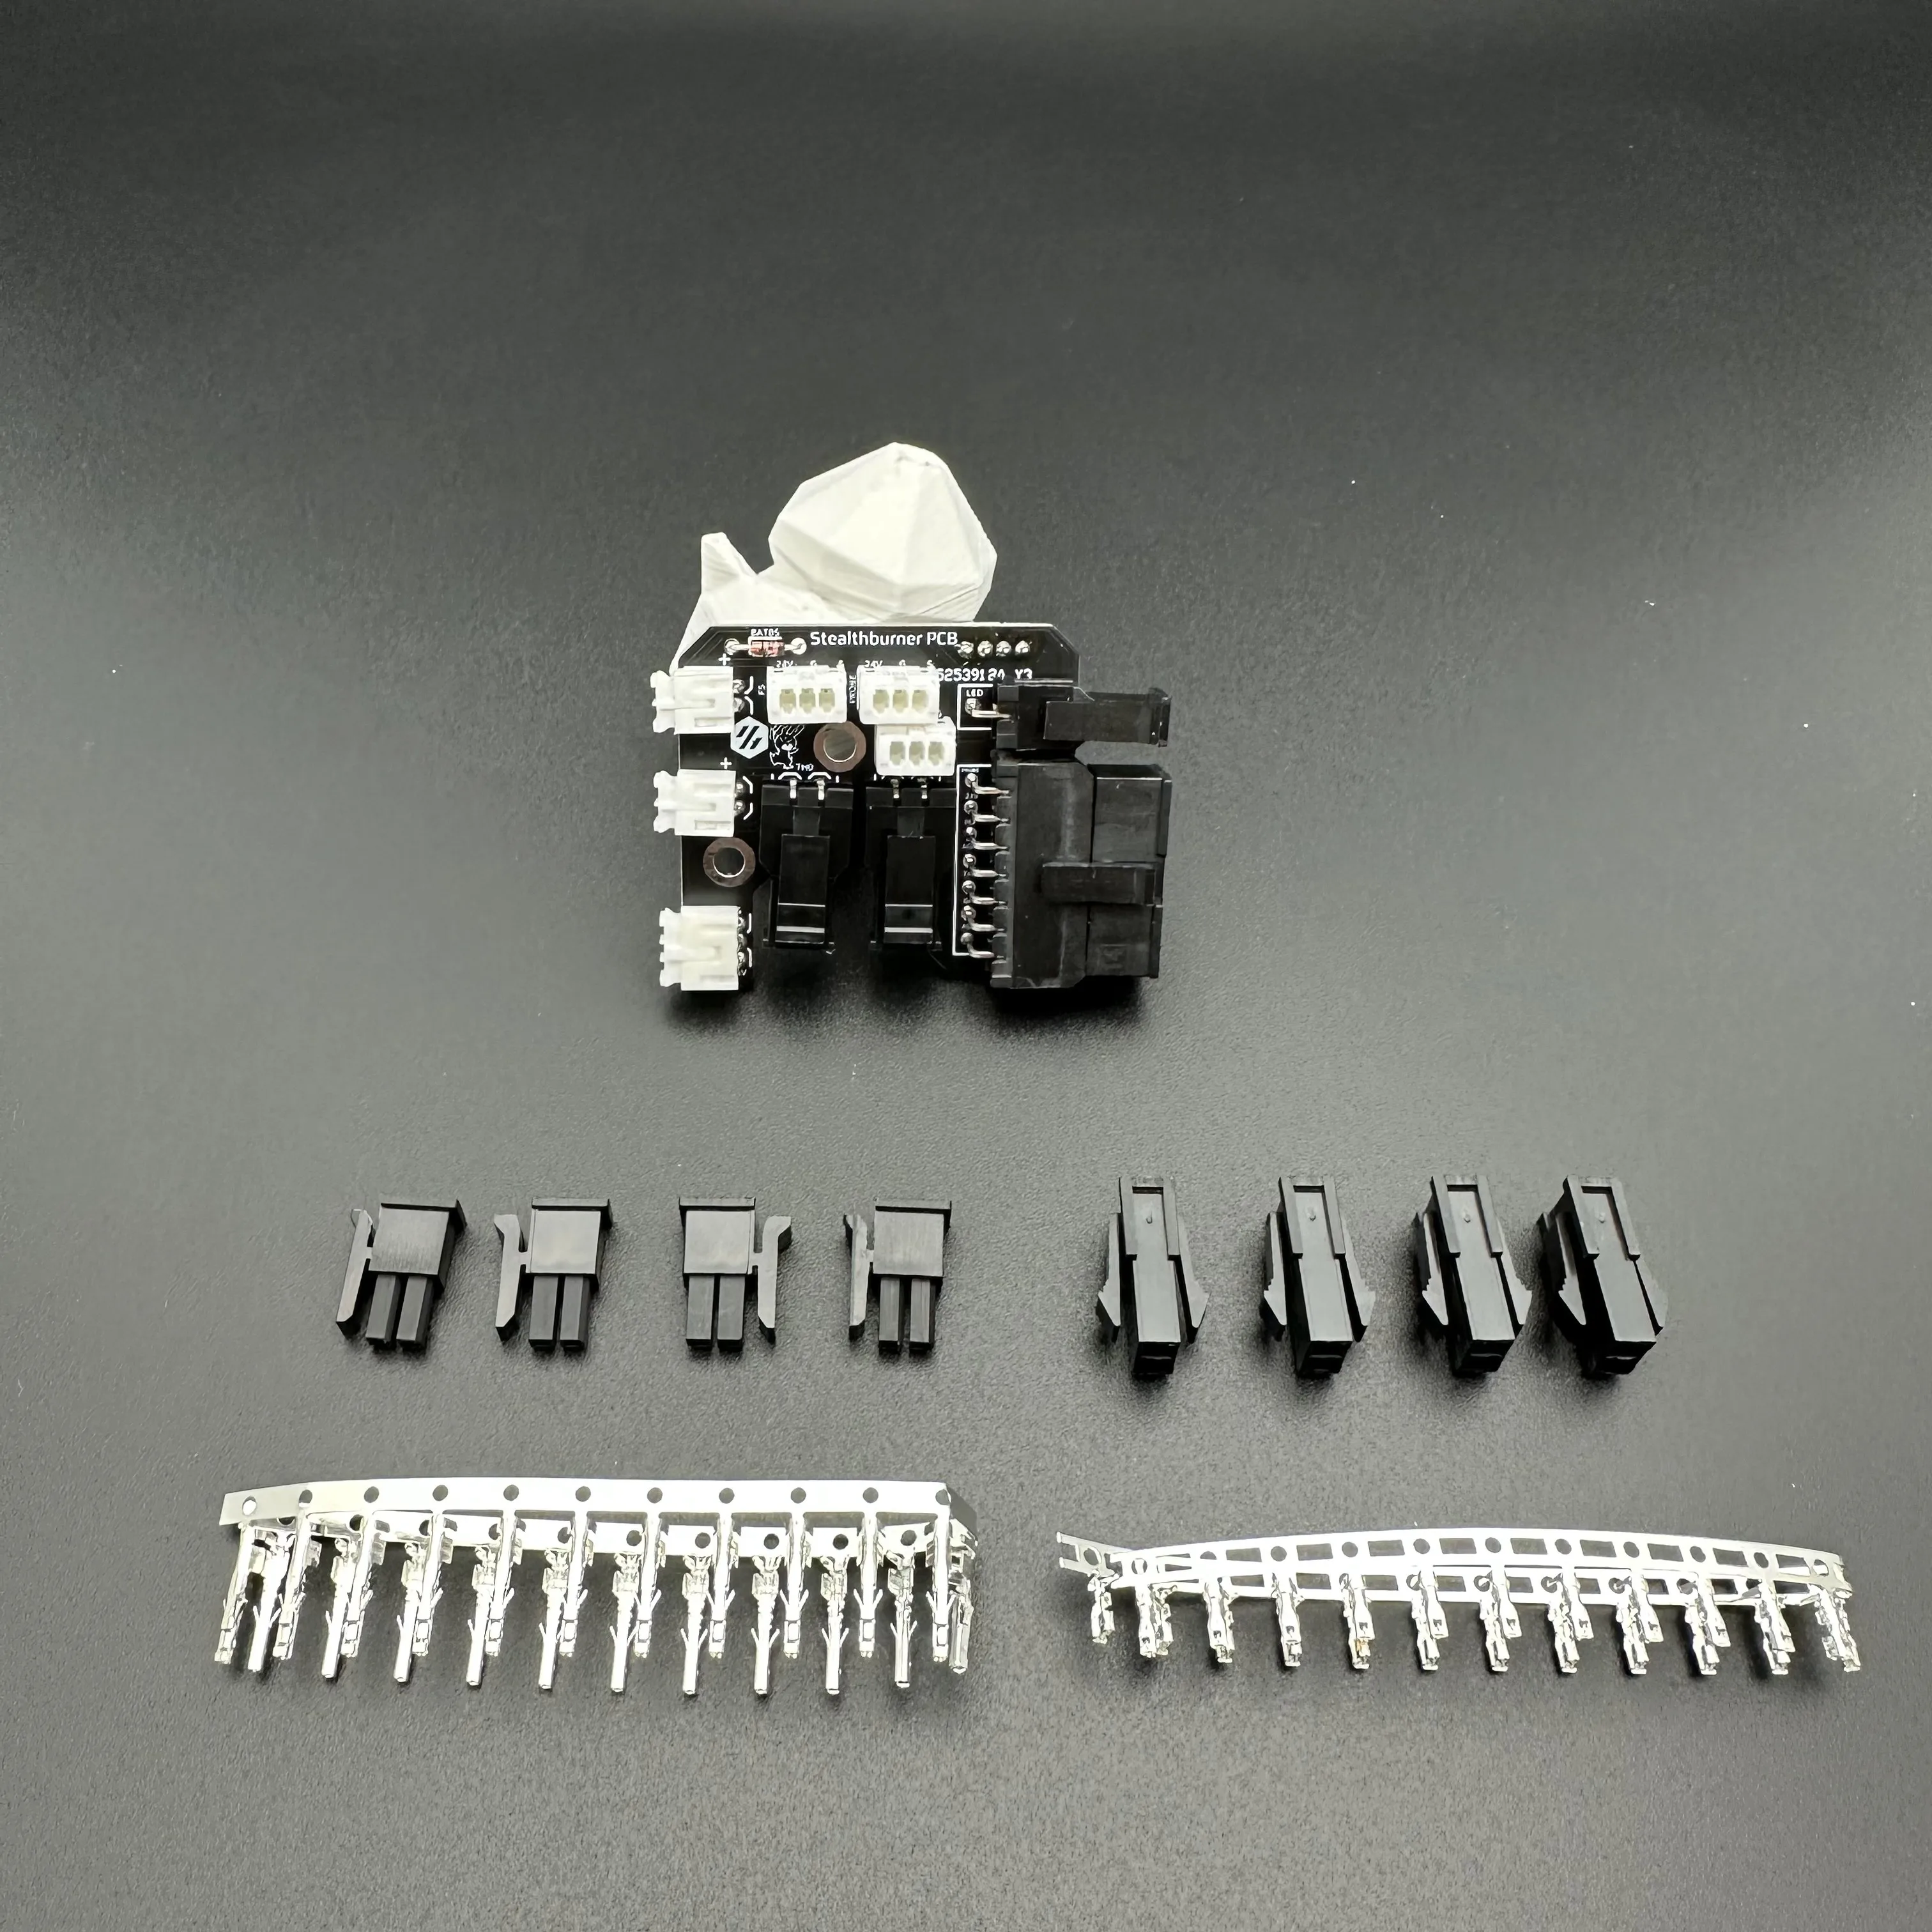
It was my intention to also wire up the LED lights that came with the Stealthburner kit when changing the wiring for the probe. Since I’m not replacing the probe I have little motivation to do this, but may do it when I run wiring for the Knomi upgrade.
Knomi V2
I’ve made a few references so far to Knomi, so what is it?
The Knomi V2 is a mod that fits tiny touch screen LED display to the Stealthburner in front of the part cooling fan. It’s completely unnecessary but not particularly expensive so I’ve decided to purchase it and have a go.
I’ll have to figure out how to run the wiring for that and when I do I’ll also have a go at running the LED for the tool head. I can’t see it being too difficult, but I’m not in any particular hurry either.
Configuration
Following this all that was left to do was update my printer.cfg file to accomodate the different dimensions of the Stealthburner and the new location of the BL Touch. I did this by homing all Axes and then taking measurements with a regular ruler. I then updated the offset for the BL Touch based on this.
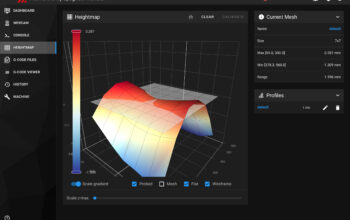
With this done I was ready to start test prints and calibrations. For as long as I’ve had this printer, I’ve had issues with the Z-offset, bed mesh and getting the perfect first layer. This is both with Klipper and the original firmware / motherboard. I’ve have now come a long way to resolving much of this. Here are the details: Taming the Z-offset on my Tronxy X5SA-600