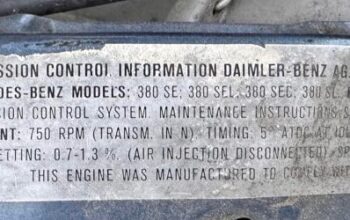
Stripping and Painting The Door
The previous owner of the 380SC had the car repainted, but it was a real hack job! Poor preparation meant that the body filler that was used to smooth the doors was peeling off and taking the paint off with it. This of course lead to a big rust spot developing on my door. This meant it was time for a rattle can restoration!
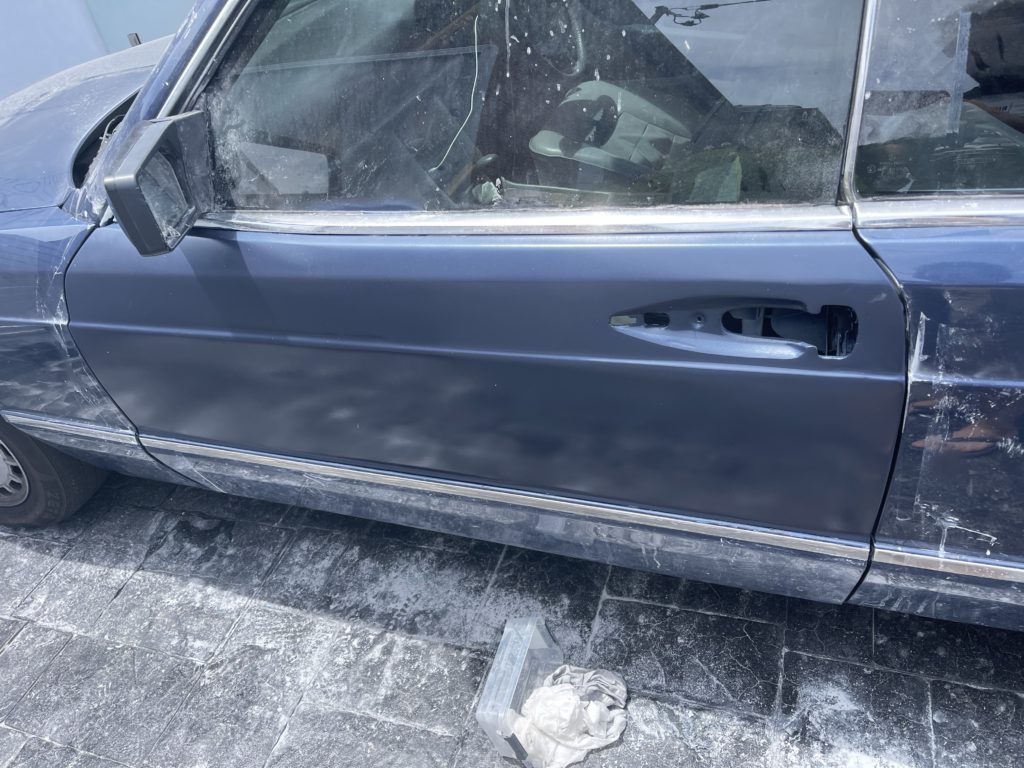
One of the first things I managed to acquire after buying the car was a pair of doors in reasonable condition – except the passenger door has a rust hole in the bottom that needs to be patched. I plan on fitting these doors in the future, but for the time being I needed to patch what was already there.
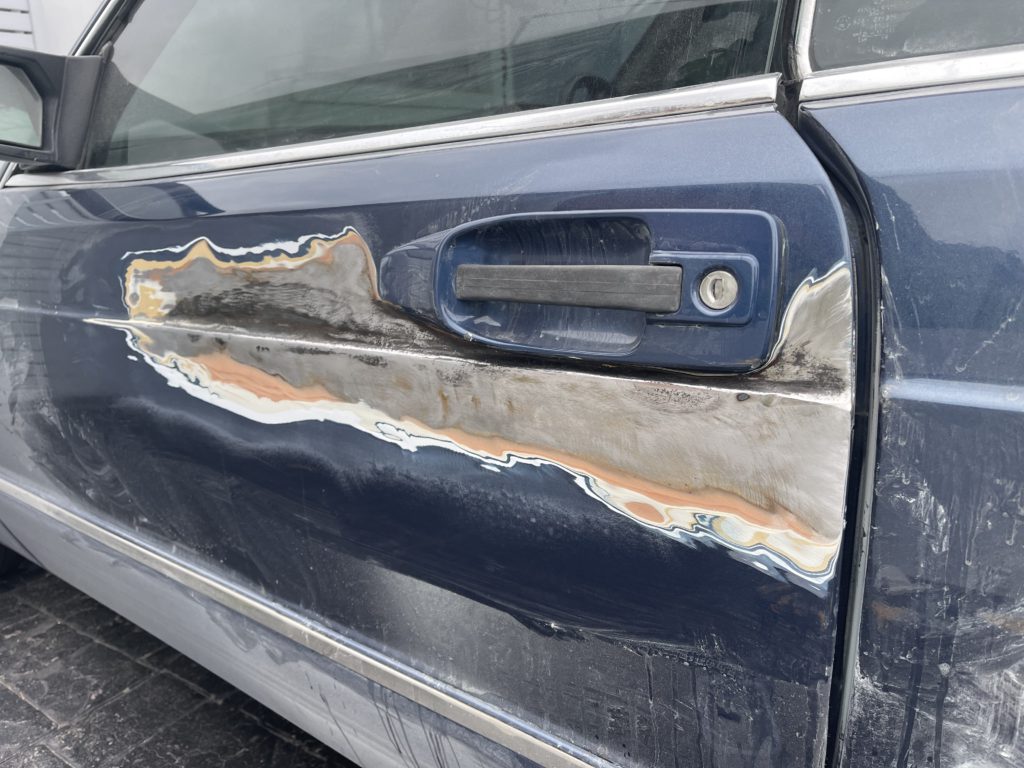
You can see from the picture above, a lot of filler was used that I had to grind away. I started with 40 grit paper on my orbital sander, but even that wasn’t doing very much, so I went with a 120grit flap wheel and got really stuck into it. Now it’s important to note, that my goal here was never to make it perfect, but just better. After all this is a temporary repair until I get time to fit my replacement doors and build a garage to work in.
It was becoming obvious at this point that working around the door handle was not going to cut it. So I took that off and kept on grinding. My goal was not to remove all of the filler, but to remove anything that wasn’t bonded to the steel and then a bit further than that.

I’m terrible at remembering to take pics during a build / repair. After I sanded down the old filler, I gave the door a good clean and washed it with some dish soap. Dish soap is great at removing oil residue – the kind that your hands leave behind when you touch something. I then dried it off and started to apply a new layer of filler to smooth it out. I had to apply it in several coats to build up the required thickness but I eventually got there. Initially I was sanding with 360 grit paper to get it level, but I found it to not be aggressive enough. I then jumped in with some 180 grit and got things moving along.
One I was happy with the level I gave it a coat of spray putty. This helped to smooth it out some more and remove most of my sanding marks.


I was now ready to start applying paint. First I applied a layer of primer

Since I was working outside and using a rattle can I had to use single pack acrylic for this job. 2 pack would have been nice, but it’s really not safe to us outside.

I then sprayed the colour coat on. I had to spray it on quite thick to make it nice and even. I then sprayed my clear coat on.

After I hit it with clear coat, I got a good look at it in direct sunlight and it revealed it wasn’t as smooth as I thought it was. There were some clear tiger stripes that needed to be dealt with. So I sanded it back and hit it with another coat of colour. It’s not clear in the image above but it was definitely a problem.

I was then able to hit it with clear coat. I went a little crazy with the clear coat and applied about 6 coats. I unloaded 2 whole cans on it. This might seem excessive, but remember I’m going to have to sand down the clear coat and buff it to get it to shine. So it needed to be thick to withstand that sort of treatment.
The door is now a uniform colour. Single pack acrylic paint doesn’t shine direclty from the can. So this will need a wet sand and buff to get it nice and shiny. This will have to wait a few weeks to let the paint to fully cure.

I’m quite satisfied with the colour match between the new and old paint. It’s not a 100% match but I think it’s close enough and certainly better than the mess of body filler and rust that was there before.